

This is the finished project and one we made for ourselves as a holiday gift at the end of 2010. What used to be here was a store bought version which lasted a whole 5 1/2 years and that cost $1000 and that is the lower end cost of these things. Why do we have a composting toilet in the first place? Because we live at 7600 feet above sea level and this particular home site I believe is 7600 feet of ROCK!! None the less, we couldn't have put in a septic tank if we wanted to so we did the alternative...composting toilet. I will put this in perspective here and show you the plastic piece of SH@% we bought:

The thing started leaking a long time back so the boards underneath are there to try to level it but that didn't work most of the time. In the back corner you see the battery that we devised to make the fan work...there is a very small solar panel on the roof that allows the electricity to be stored in said battery but the set-up was just plain ugly! The bucket there on the right contains the "flush" that we use...you may have heard the rhyme: if you pee let it be, if you poop add a scoop? Well, that is the scoop contents...again, just a tad bit unsightly. But the toidy itself just started falling apart, hence the next photo:

The seat broke, the cover was falling off and on the right upper side of the base was a growing crack...did I mention this cost us $1000???
So, finally one day I said to my hubby (who wanted to build our own toilet in the first place mind you but noooo, I wanted a "real" one)...can we please build our own now? Live and learn. So, David and I started researching sawdust toilets in general on the world wide web and low and behold most of the sites recommend...you guessed it, store-bought ones!! There is even a site out there telling the 5 reasons you should consider buying over building. I can debate every one of them but that is another story. So, how do you build your own sawdust toilet you might ask...well, you probably won't ask but should you want to know...I am at your service.

David took measurements, cut out all the holes and you will notice that there isn't just one hole on top. He planned it so that the flush bucket, the battery and a switch to turn it on and off are all planned for. The back hole is for the venting pipe that came off the old one. We went on Christmas eve and bought the pretty blue paint, door pulls and hinges!! I got to paint it as I usually "get" to paint most things around this homestead.

So, here it is ready to put all the necessary pieces together. David wired the fan that goes in the vent to the battery and then we were ready to finish the installation.

And yes, he did clean up the battery before installing it but isn't that just the coolest thing?? It has it's own door and the little light switch above it is all we need to turn it off and on...awesome!!
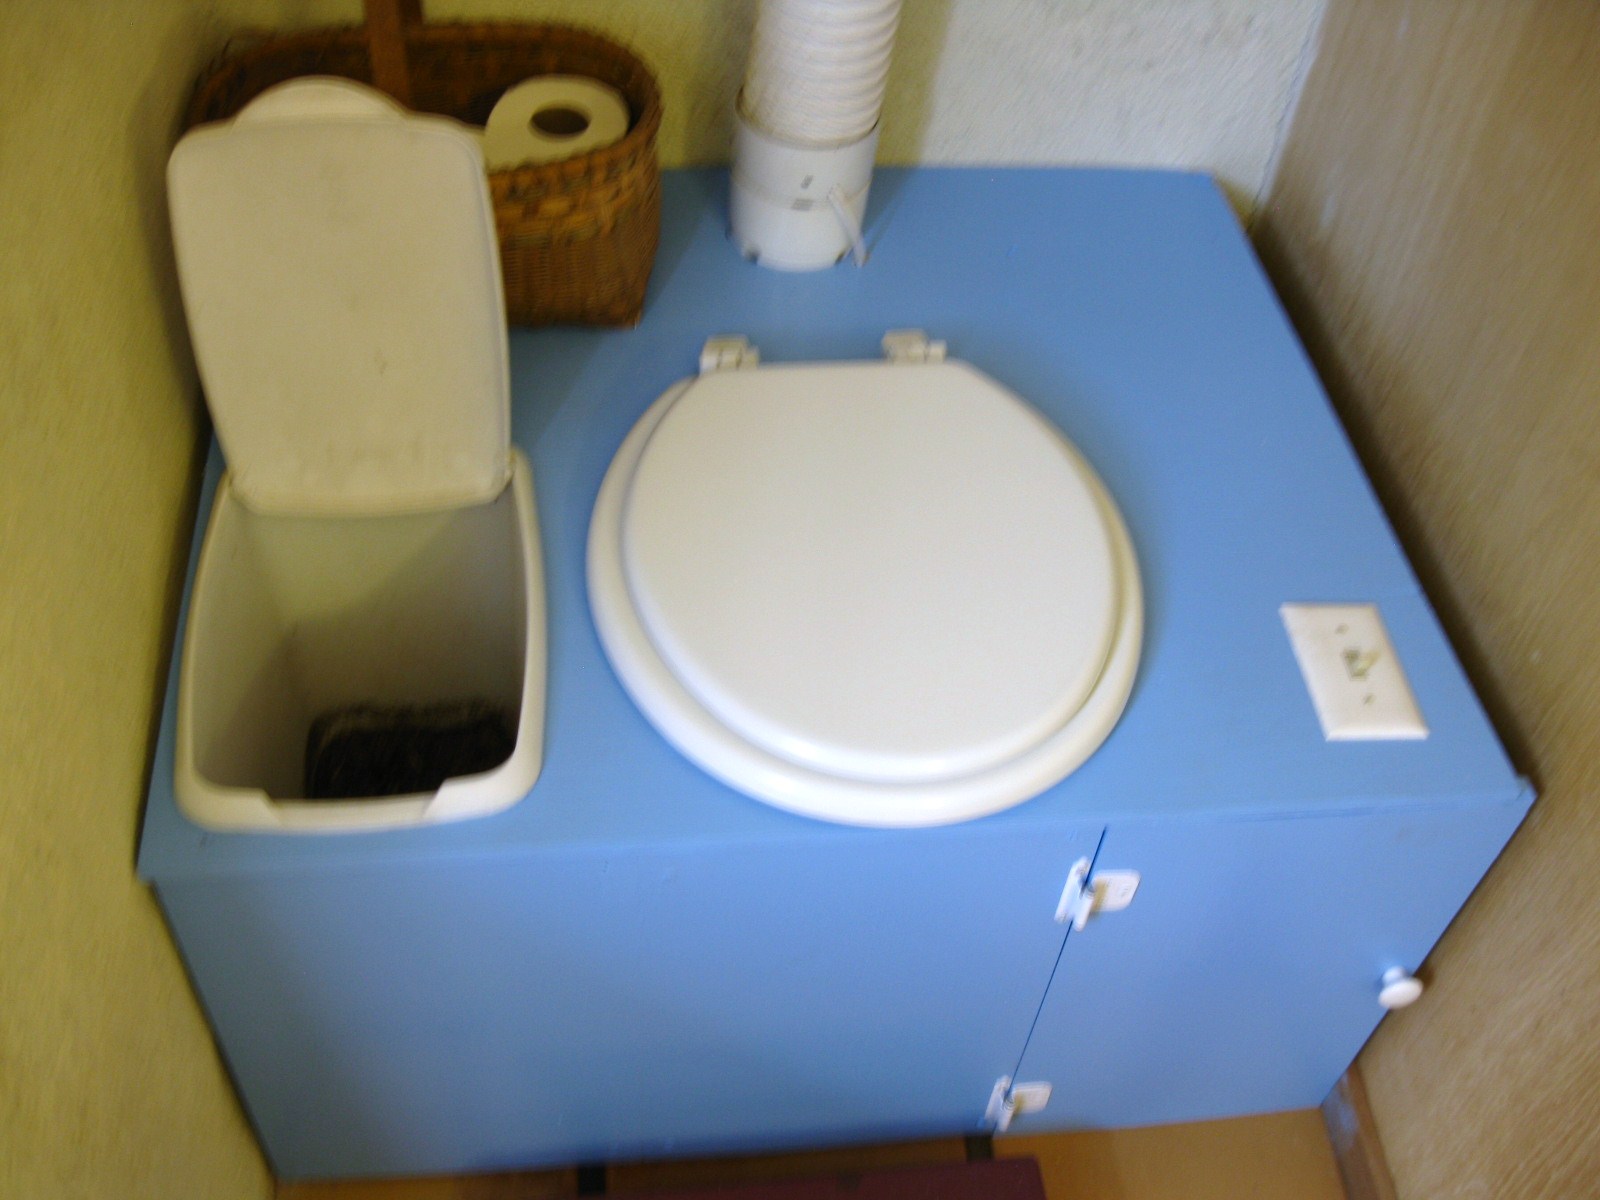
Now the flush bucket was installed so it is handy for that second part of our rhyme. Oh, and I forgot to mention the toilet seat that we had to purchase so let's see we already had the wood, slush bucket, and many 5 gallon buckets (that are also hidden cozily away) from our recent re-stuccoing of the exterior of our home last summer so all we had to purchase was the toilet seat, white hinges, door pull and the paint! Not bad compared to our previous $1000 flop. I am very happy with our new toilet and have enjoyed immensely sharing the experience with you!! One last peak at the finished product just in case you want to try this yourself!!
Happiness is a homemade toilet for the holidays!!